Discover Color Range Selection
|
To take the magic wand tool a little further and
getting a more complicated selection check this tutorial out.
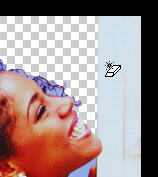
Depending on your tolerance setting and the actual difference in the shades of the background you may have to keep clicking on areas to keep ‘erasing’.
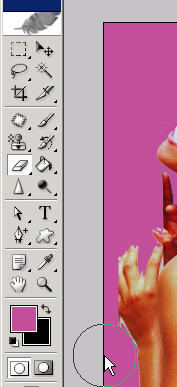
Note that the magic eraser didn’t erase this light
colored wall edge.
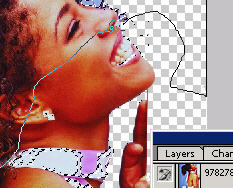
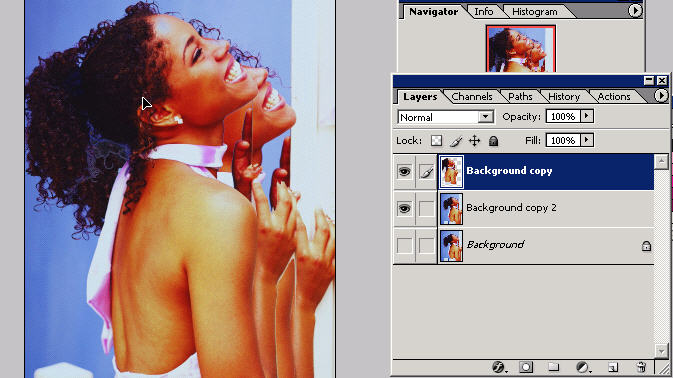
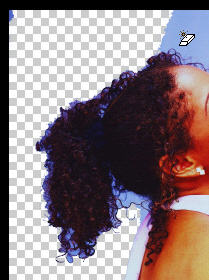
In this example I’m going to be left with a lot of the purple background around her frizzy hair. Get everything else (the big spaces) that you can with the magic eraser tool.
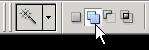
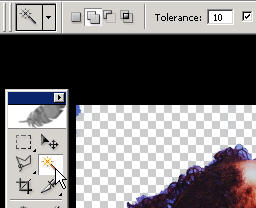
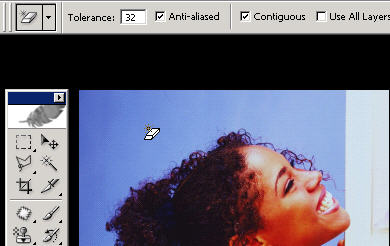
Now I’m going to switch to the magic wand tool on
‘add to selection’.
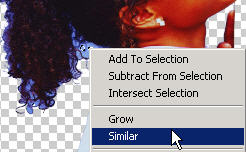
This will allow me to ‘select’ (and then erase) areas that are still left that need to be deleted. You can select an area with a fairly high tolerance in this case and then right click and choose ‘similar’ or ‘grow’ to capture more pixels and then Ctrl/Cmd X to ‘cut’.
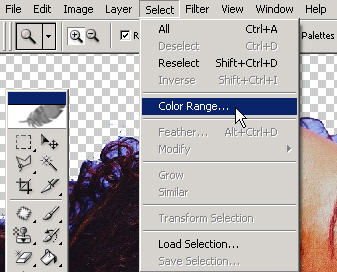
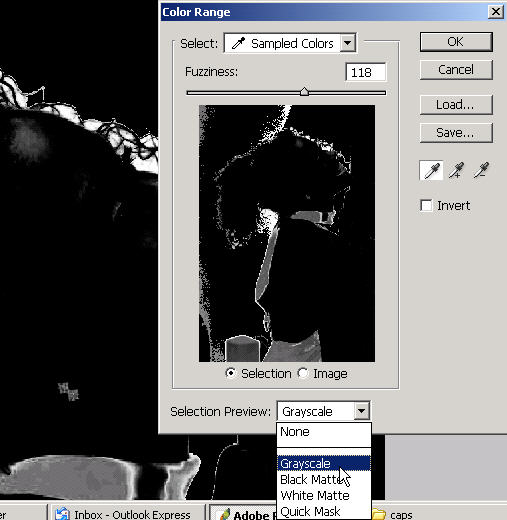
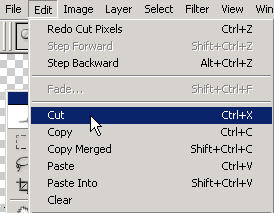
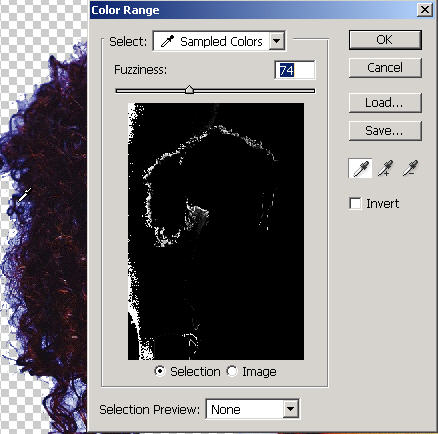
Here is an advanced technique that I want to give you a preview of. Under the Select menu you’ll find color range. Open that dialog box.
This allows you to use the internal turkey baster (eyedropper) to select a color point within the document and all similar colors will be ‘selected’ in that range across the entire image. This can save you a TON of time and can be very accurate. Just click on a point and you can see it highlighted in the viewer.
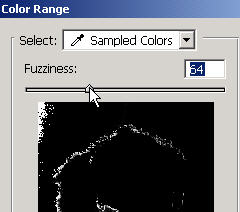
You have several different options of viewing what is selected. Increasing the fuzziness will increase the intensity range of the selection.
Press OK when you have a good selection. Now you might have to do some more adjusting.
Here you can see that her teeth and neckband ended up being part of that selection but that's no problem.
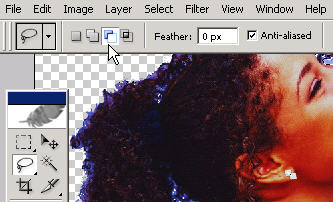
Just use the lasso tool on subtract from selection and draw the lasso around this area to de-select it. Now you just have the remaining background pixels around the hairs left.
Do any other adjusting (subtraction) to the
selection that you need to.
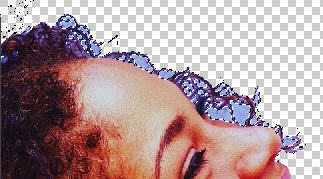
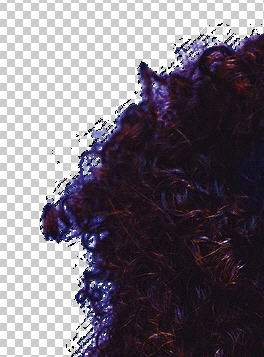
Here you can see a closer view of the selected area after using the select: color range command.
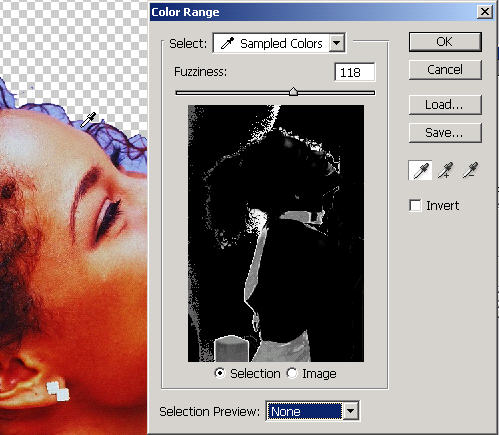
This is a very powerful tool. If you want all the Photoshop power you can handle make sure you get my TutorialKey video training for Photoshop CS. It's loaded with tutorials and I even have a super tutorial on advanced hair selection techniques.. Here is the color range again.
Imagine going in and selecting these by hand or trying to 'erase' these pixels (yikes).
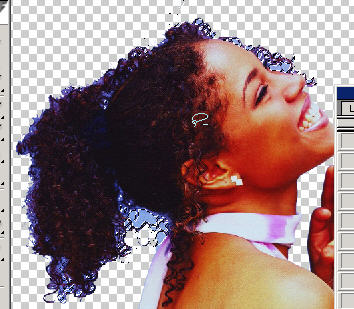
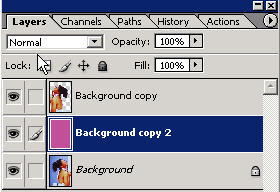
Because you have erased pixels away (through different methods) and ended up with the main subject, you now have a layer with your subject on (because you first duplicated the background layer).
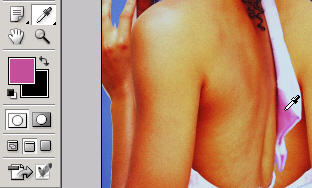
You can try something like this. Use the eyedropper tool to select a color in the layer. Now create a new blank layer above the background layer and alt backspace to fill it with this color.
Because of the order of the layers you now have the subject on top of the background layer. Now add some text if you want, maybe a drop shadow to your subject or outer glow.
Go in and clean up any areas you may have missed such as with a regular eraser.
The extract tool is actually the best for getting these complicated hair selections. I didn’t try and get this one too perfect but you can spend the time to get the right sample (maybe darker purple here and change the fuzziness), etc.
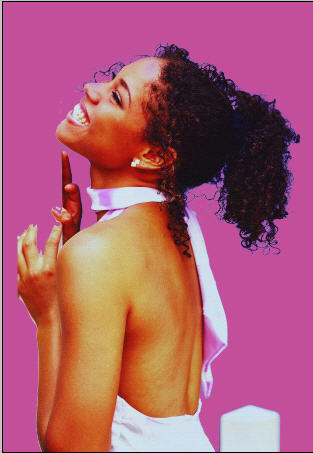
Another way to cover up a less than perfect
selection result is to put the subject against the same color
background to help hide your inefficiencies (I did this a lot for
two whole years). I use this exact image in my new advanced
hair selection tutorial (produced over a year later). These
advanced techniques can be found in the
Tutorials
Training DVD's for Photoshop CS/CS2. |
TUTORIALSTRAINING.COM
& TutorialKey Solutions c/o DreamCore Productions, Ltd.
5140 STONEY BROOK RD. RUDOLPH, WI 54475
715-423-2161
Contact me for any questions.
|
Copyright TutorialsTraining.com & TutorialKey Solutions 2005 Adobe, Photoshop, and the Adobe Certified Expert logos are either registered trademarks or trademarks of Adobe Systems, Inc. in the U.S. & other countries. Adobe Product Screen Shots reprinted with permission from Adobe Systems, Incorporated. TutorialsTraining.com & TutorialKey Solutions, PhotoshopDesigner.com, PhotoshopDesign.Net, ClubCast.tv, PhotoRestorationTutorials.com, PhotoRetouchingTutorials.com, Digital-Scrapbooking.net, Scrapbook-Templates.com, are trademarks of DreamCore Productions, Ltd. U.S.A. NAPP is a trademark of PhotoshopUser.com. Use of other trademarks or logos does not imply endorsement from the respective sources. |
 One click inside of it should get it all. Be careful when using the
magic eraser; often you might want to use other tools instead if
similar colored areas are actually connected. For example if her
teeth were right up against the white wall and you clicked in the
wall it would probably eraser her teeth. So be careful and look for
a solid boundary or border around the area you are erasing.
One click inside of it should get it all. Be careful when using the
magic eraser; often you might want to use other tools instead if
similar colored areas are actually connected. For example if her
teeth were right up against the white wall and you clicked in the
wall it would probably eraser her teeth. So be careful and look for
a solid boundary or border around the area you are erasing.