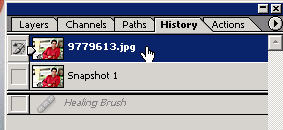
| If you're working on the same image and created a snapshot, go
back to the original as shown and then you can continue working from
scratch.
The patch tool
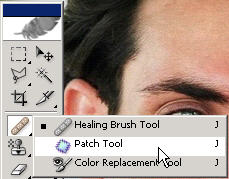 is
similar to the Healing brush and is located underneath it in their
toolbar menu. The patch tool allows you to do the same basic
function of blending pixels from one area into another area except
in a different fashion. is
similar to the Healing brush and is located underneath it in their
toolbar menu. The patch tool allows you to do the same basic
function of blending pixels from one area into another area except
in a different fashion.
First (with the tool selected) you make a selection around an area
and then drag it to another area to replace either the source or
destination pixels (depending on your choice in the options bar).
With source selected Iím making a selection of the eye
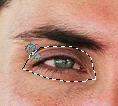 and
then dragging the patch selection over to the middle of the
forehead. and
then dragging the patch selection over to the middle of the
forehead.
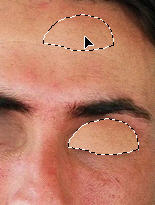
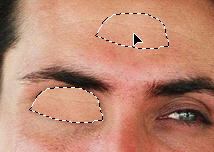 Now the forehead will be patched into the eye. Remember that with
ĎSourceí selected that wherever you drag the patch will bring those
pixels into the selected area aka the source.
Here I'm patching the other eye.

You can easily take this into sick jokes, etc. My eyes, my
eyes...
Whenever you have a selection remember that you can Ctrl/Cmd ĎDí
to deselect
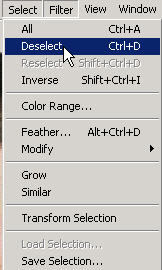
or choose deselect from the Select menu..if you donít it will
most likely screw a lot of things up.
Using the snapshot tool, Iíve created different Ďcapturesí of the
document at different times and I can switch to and work on from
there with any of them.
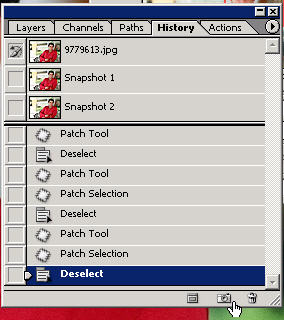
The original is on the top.
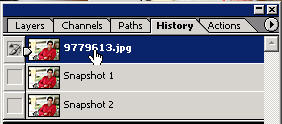
You can toggle through your different snapshots or the history
palette itself by dragging the slider down.


Ok, this is just sick isnít it. Imagine what you can do. But it
is a good example...
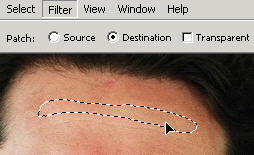
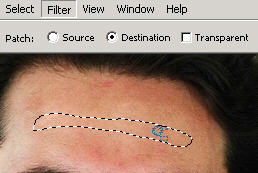
With the Patch tool on destination you can drag your original patch
to where you want it to put the patch right there.
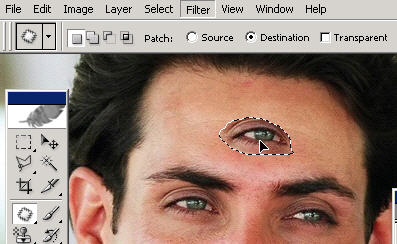
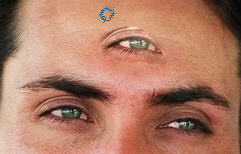
You can see this clearly with the images as shown: the eye is
patched onto the destination of the forehead.
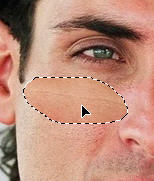
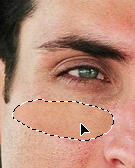
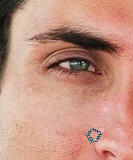
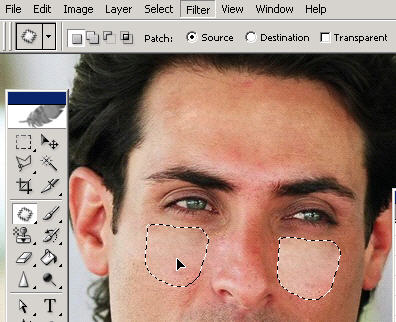
Here with the patch tool on destination, I can drag a portion of
the forehead to the cheekbone (for example purposes).

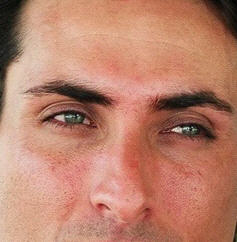
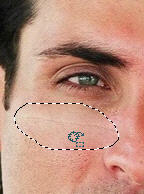 When retouching youíll want to look for good areas to replace the
worse areas (..basic photoshop).
For a clean up job, take a good portion such as this and move it to
the area you want to patch (on destination). This tool is also such
a miracle worker for quick touchup jobs. And just think...most
people donít know how to do something like this or have any idea how
easy it is actually.
But since you paid for Photoshop and now know how to do this. You
can charge them based on time by doing this quick and then spending
time mastering the pen tool (haha Iím not officially endorsing
this).
Here is another example. With patch on 'destination' just
drag a good portion to cover an area that needs work.
In Photoshop CS you now get a preview when you drag
the patch around of the forthcoming patch when on source. On
destination you just drag your patch to another area.
For mastery of Photoshop itself; it's going to take
dedication and some comprehensive training. You're not going
to find free complete training anywhere. Take a look at my
Photoshop
CS video tutorials training to help you reach your Photoshop and
digital imaging goals.
  |


 is
similar to the Healing brush and is located underneath it in their
toolbar menu. The patch tool allows you to do the same basic
function of blending pixels from one area into another area except
in a different fashion.
 and
then dragging the patch selection over to the middle of the
forehead.
 Now the forehead will be patched into the eye. Remember that with
ĎSourceí selected that wherever you drag the patch will bring those
pixels into the selected area aka the source.


 When retouching youíll want to look for good areas to replace the
worse areas (..basic photoshop).


