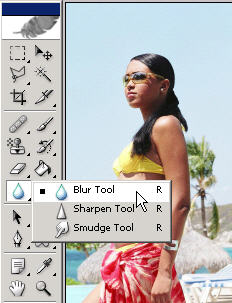
Discover the Blur Tool
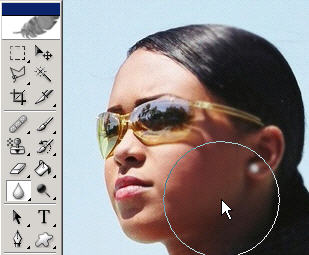
| You can find the blur tool located as shown.
You can use it to...you guessed it...BLUR. It’s a great tool to soften pixels up. As with several other tools, you can change the size of the blur brush and even choose a hardness setting. The hardness setting determines how fuzzy the edge of the brush applies the blur (in this case).
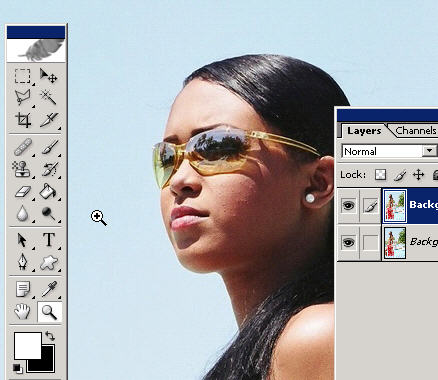
Remember that you can use the Zoom tool (Z) at anytime to get in closer to work on an area or to view it. I might mention (ok, I will) that the higher your resolution, it means the closer you can zoom in and still get great image quality. If an image is at 72 resolution and fits on your screen, when you zoom in the pixels will become blocky; whereas at 300 resolution you can keep zooming in because there is more information within a square inch.
In this case I’m going to work on a small area that I want to blur (part of her face). You can do this too but for touching up a small area it’s more effective to work with 300 resolution b/c you can effect more pixels (and create viewable clear prints with the blur effect). This image is from my photos.com selection.
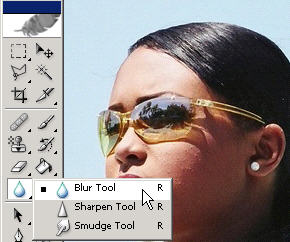
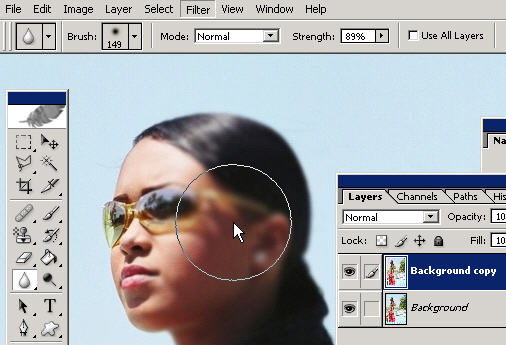
Just take your blur tool and slowly cover the area by clicking that you want to blur.
Take note of the Strength slider bar. The higher the strength is set to the more massive of a blur you’re going to get in the shorter amount of time that you are blurring by clicking and holding down. Adjust the slider of the strength bar to work with your image.
For a more subtle blur you can lower the strength. Here you can see the effect of the blur. Make sure you experiment around with it so you get comfortable with the tool and settings.
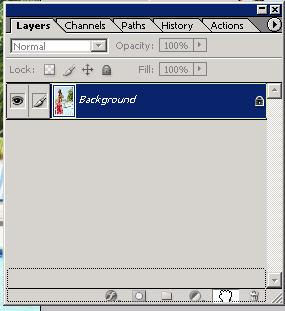
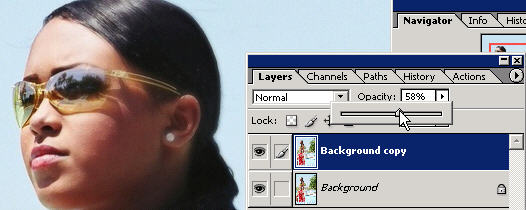
Remember to always work on a duplicate layer so you preserve a layer of the original whose pixels will remain unchanged. By creating a duplicate layer of the background on which you can blur and ‘change’ pixels you now have the option of using blending modes or lowering the opacity of your blurred layer. Doing this is a great technique which lots of professional Photoshop users use to bring balance back to the effect which can sometimes be a little strong. By lowering the opacity you’re blending the pixels so essentially you’re bringing back the original image more and more and creating a balance between the effect of the two layers. It usually turns out very nice!
For mastery of Photoshop itself; it's going to take dedication and some comprehensive training. You're not going to find free complete training anywhere. Take a look at my Photoshop CS video tutorials training and see where it can take you. |
TUTORIALSTRAINING.COM
& TutorialKey Solutions c/o DreamCore Productions, Ltd.
5140 STONEY BROOK RD. RUDOLPH, WI 54475
715-423-2161
Contact me for any questions.
|
Copyright TutorialsTraining.com & TutorialKey Solutions 2005 Adobe, Photoshop, and the Adobe Certified Expert logos are either registered trademarks or trademarks of Adobe Systems, Inc. in the U.S. & other countries. Adobe Product Screen Shots reprinted with permission from Adobe Systems, Incorporated. TutorialsTraining.com & TutorialKey Solutions, PhotoshopDesigner.com, PhotoshopDesign.Net, ClubCast.tv, PhotoRestorationTutorials.com, PhotoRetouchingTutorials.com, Digital-Scrapbooking.net, Scrapbook-Templates.com, are trademarks of DreamCore Productions, Ltd. U.S.A. NAPP is a trademark of PhotoshopUser.com. Use of other trademarks or logos does not imply endorsement from the respective sources. |